A still photograph
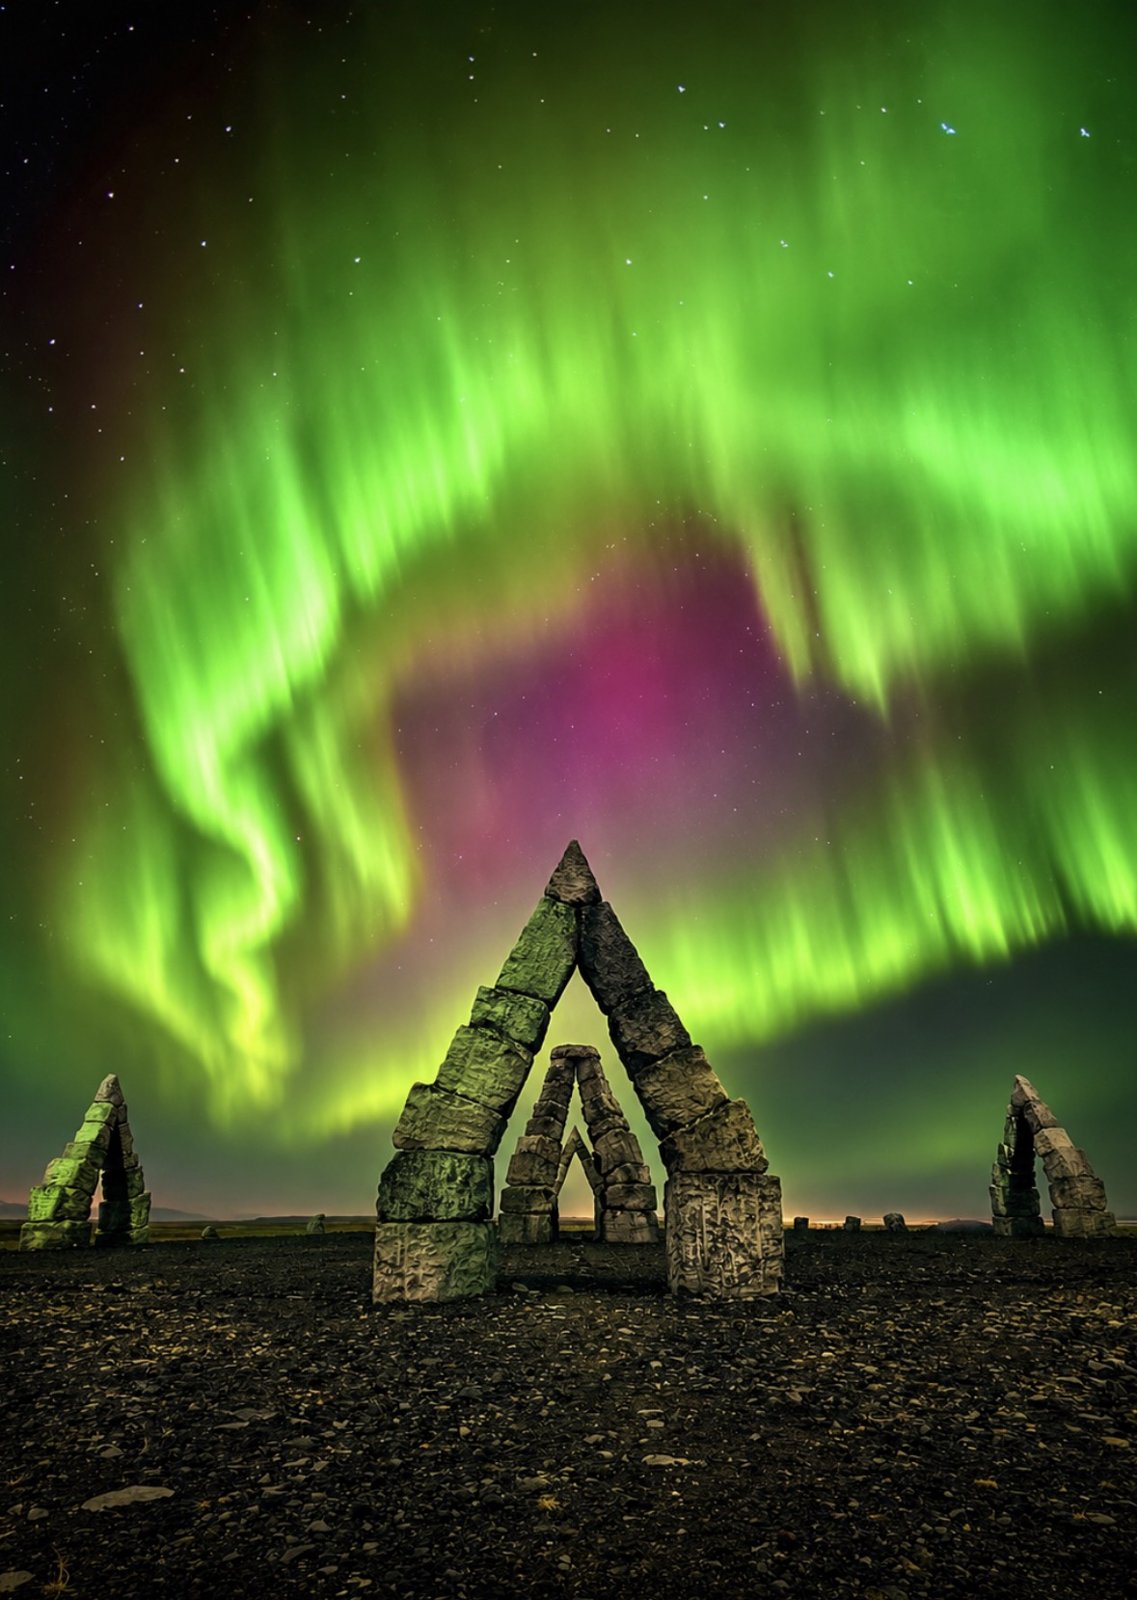
Use a short enough shutter to keep the curtain’s shape. A long exposure gathers faint light but can turn moving rays into a smooth green cloud. Check the histogram and keep bright green areas from clipping.
You do not need the most expensive camera to bring home a memory. You need a steady place to put it, a clean lens, and an exposure that suits what the sky is doing.
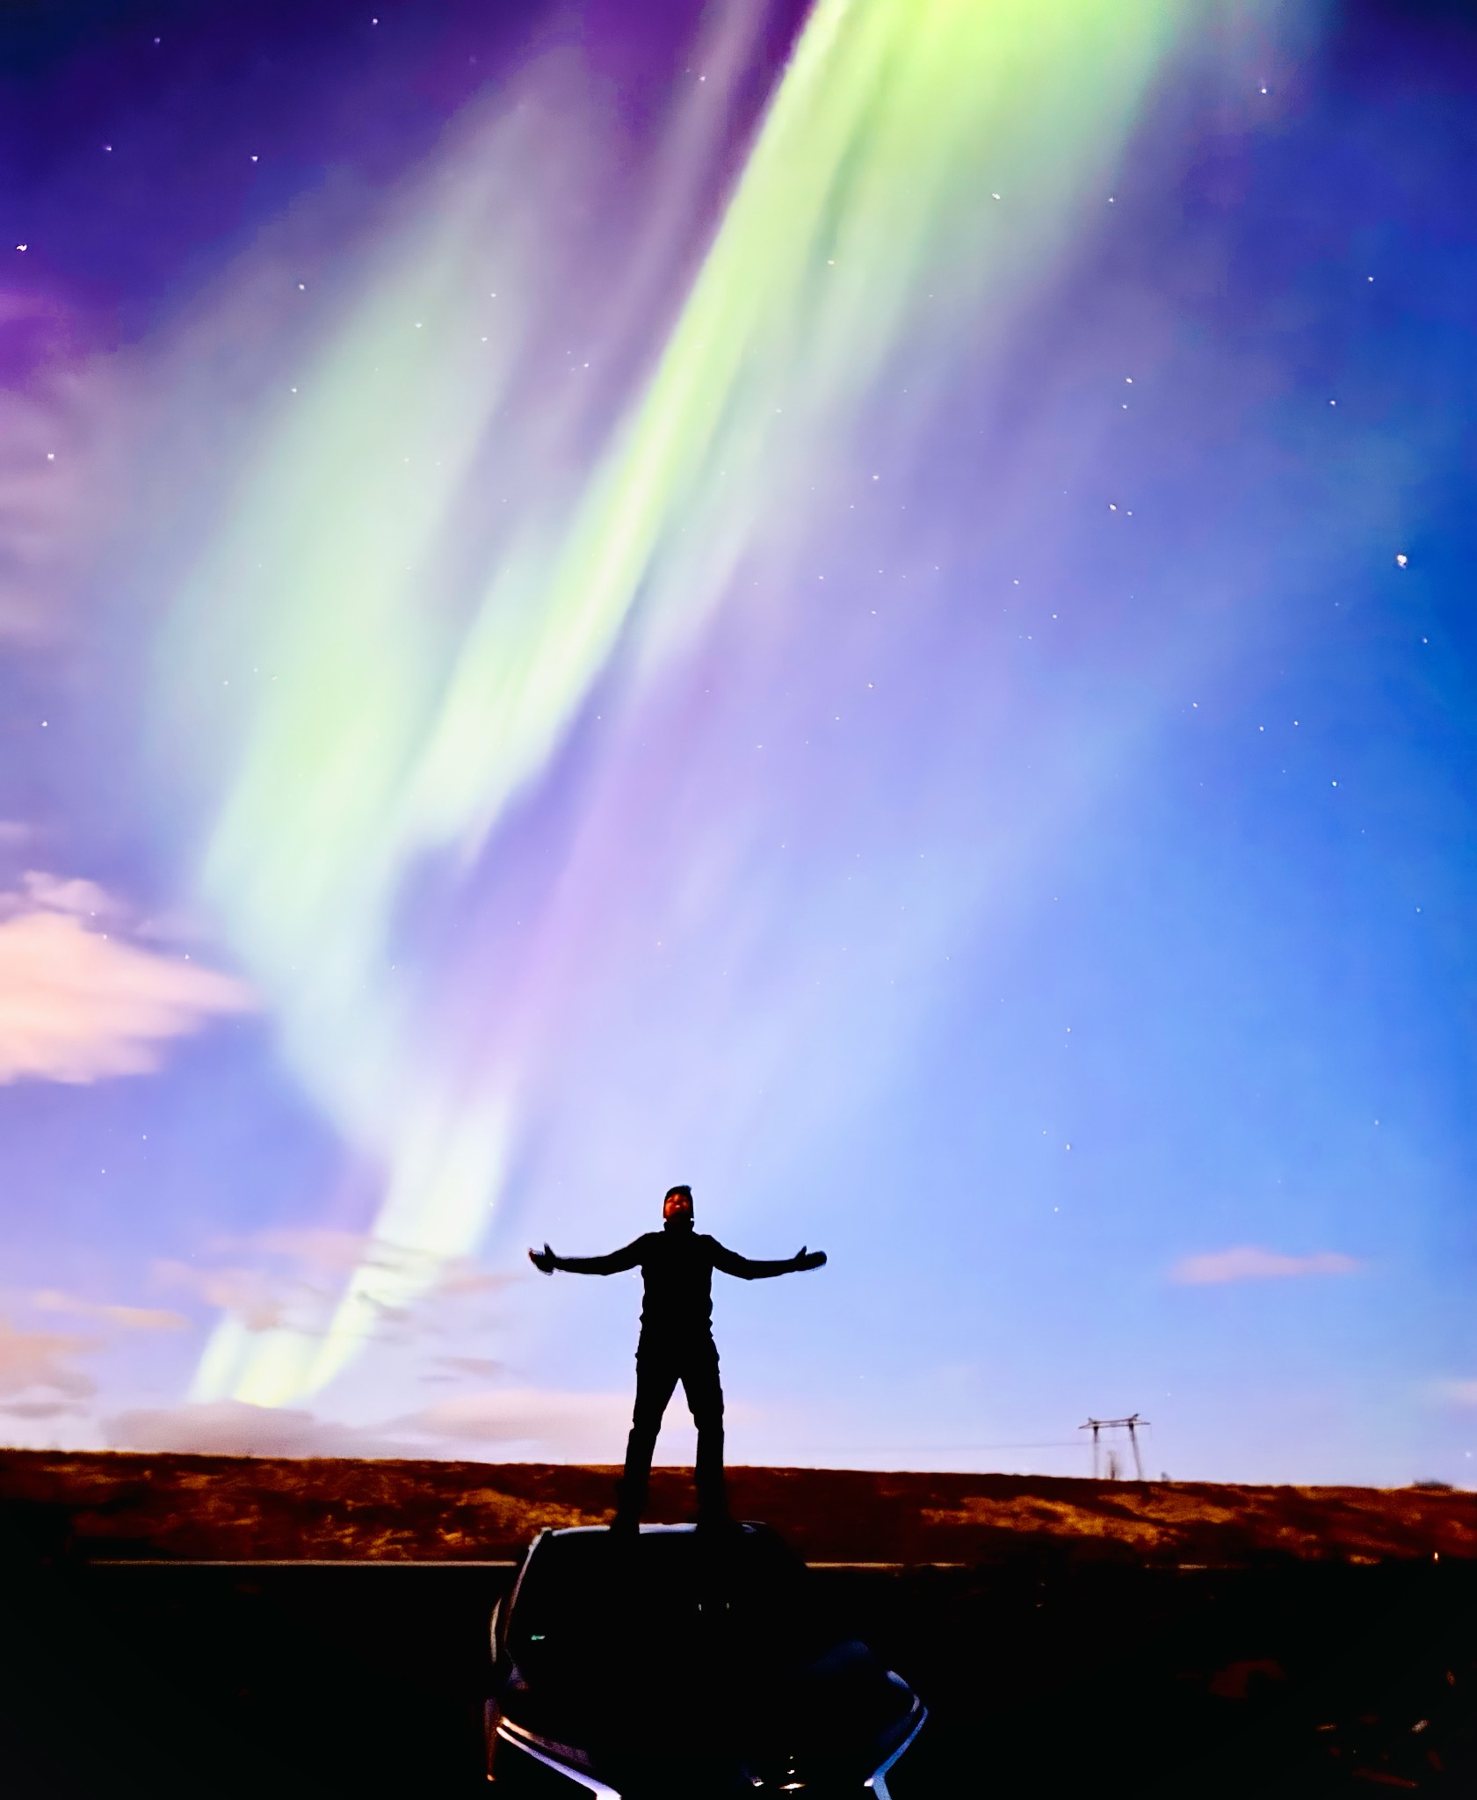
My first rule: set up before the show. My second: don’t spend the whole show looking at a screen. Take a test shot, make one small change, and look up again.
These are practical starting points, not perfect settings for every camera or every aurora. A faint slow arc and a bright dancing curtain need different exposures. Menu names and controls depend on your model and firmware.
— Roy
| Camera | Photo starting point | What I would change first |
|---|---|---|
| iPhone with Night mode | Main 1× lens, Night mode, tripod, flash off, 3-second timer. Try the automatic exposure first, then a shorter capture for moving curtains. | Keep it still for the entire countdown. The longest available Night mode time varies; a tripod can unlock longer captures. Avoid digital zoom. |
| Samsung Galaxy | Night mode on the main lens. If Pro mode offers manual controls: try ISO 800–1600, 2–8 s, focus on a bright star. RAW if supported. | Shorten the shutter for fast aurora. Expert RAW/Astrophoto availability varies; multi-minute star stacking can smear moving aurora. |
| Google Pixel | Night Sight on a stable tripod, main lens, flash off. Use a short Night Sight shot for movement; astrophotography is aimed at steadier night skies. | A long computational capture may soften fast curtains. Check your model’s available controls. |
| Xiaomi / OnePlus / OPPO / vivo / Huawei and other phones | Start in Night mode on the main camera. If manual mode is available, try 2–8 s and ISO 800–1600 with a steady support. | Manual RAW and shutter ranges differ by device. Lower exposure for a bright display; do not force a minute-long capture just because the phone offers it. |
| DSLR / mirrorless | RAW, manual exposure, wide 14–24 mm full-frame equivalent, f/1.8–2.8 if available, ISO 1600, 4 s. Fixed white balance around 3500–4500 K. | Bright and fast: 0.5–3 s. Moderate: 3–8 s. Faint and slow: 8–15 s. Change ISO to suit the aperture; inspect sharpness and highlights. |
| GoPro HERO10 / models with Night Photo | Tripod, Night Photo, Wide, shutter 5–10 s as a first test; ISO minimum 100 and maximum 800–1600 where offered. RAW if available. | Night Lapse for a sequence; keep the interval at least as long as the exposure plus processing time. Use the options your model actually exposes. |
| Insta360 X5 / supported X-series | Stable tripod, Starlapse for a sequence. Start with its supported low-light preset; if manual controls are offered, test 5–10 s and ISO 800–1600. | Keep both lenses clean and free of snow. Put the tripod on stable ground. Shorten exposures when aurora moves quickly; review stitching and noise. |
| Low-light compact / bridge / other action camera | Use the brightest lens and a tripod. If possible: RAW, manual focus, widest aperture, ISO 800–3200 and 2–8 s. | If it has no manual exposure or Night mode, a bright aurora may work better than a faint arc. A phone may outperform an older small-sensor camera. |
Use a short enough shutter to keep the curtain’s shape. A long exposure gathers faint light but can turn moving rays into a smooth green cloud. Check the histogram and keep bright green areas from clipping.
Bright aurora and a fast lens help enormously. Try 24/25 fps, about 1/25–1/50 s, the widest useful aperture and ISO 3200–12800 on a capable large-sensor camera. Expect noise; test your camera’s limits.
Phones and action cameras may only show strong displays. A 5-second photo setting cannot produce normal 25-fps video.
Lock focus and white balance. Use the shortest exposure that gives useful detail, keep a consistent interval and leave enough time for processing. Hundreds of stills become a short film; it is accelerated time, not live movement.
Find an open view away from direct lights. Keep a safe foreground: a shoreline path, a mountain silhouette or a person on firm ground. Do not climb a roadside snowbank, walk onto a frozen lake or stand in a traffic lane for a cleaner frame.
Leave room above the horizon. Aurora can grow overhead, so take one wider frame before zooming in. Keep the horizon level.
Magnify a bright star in live view and manually focus until it is as small as possible. Infinity markings are approximate. Recheck after a lens change, a bump or a temperature shift. Use a timer or remote shutter; turn stabilisation off on a tripod if the maker recommends it.
Use a rear camera and tripod rather than a handheld front-camera selfie. Compose, mark a safe standing spot and set a timer or remote. Hold still. For a silhouette, let the sky do the work; for a visible face, briefly use a dim warm light, away from other photographers.
A short exposure is easier for people. A separate portrait and sky blend is a creative composite: label it honestly.
Spread the legs, keep the centre column low and protect the setup from gusts. Keep spare batteries warm. A power bank can help compatible cameras, but protect cables from snow. Put cold equipment in a closed bag before entering a warm room to reduce condensation.
Use a dim red headtorch when practical. Turn off car headlights once legally parked and safe. Never shine a torch into someone else’s exposure.
For editing, start with a believable white balance, restrained noise reduction and gentle contrast. Keep the original. A photograph can be expressive without pretending the camera saw exactly what your eyes did.
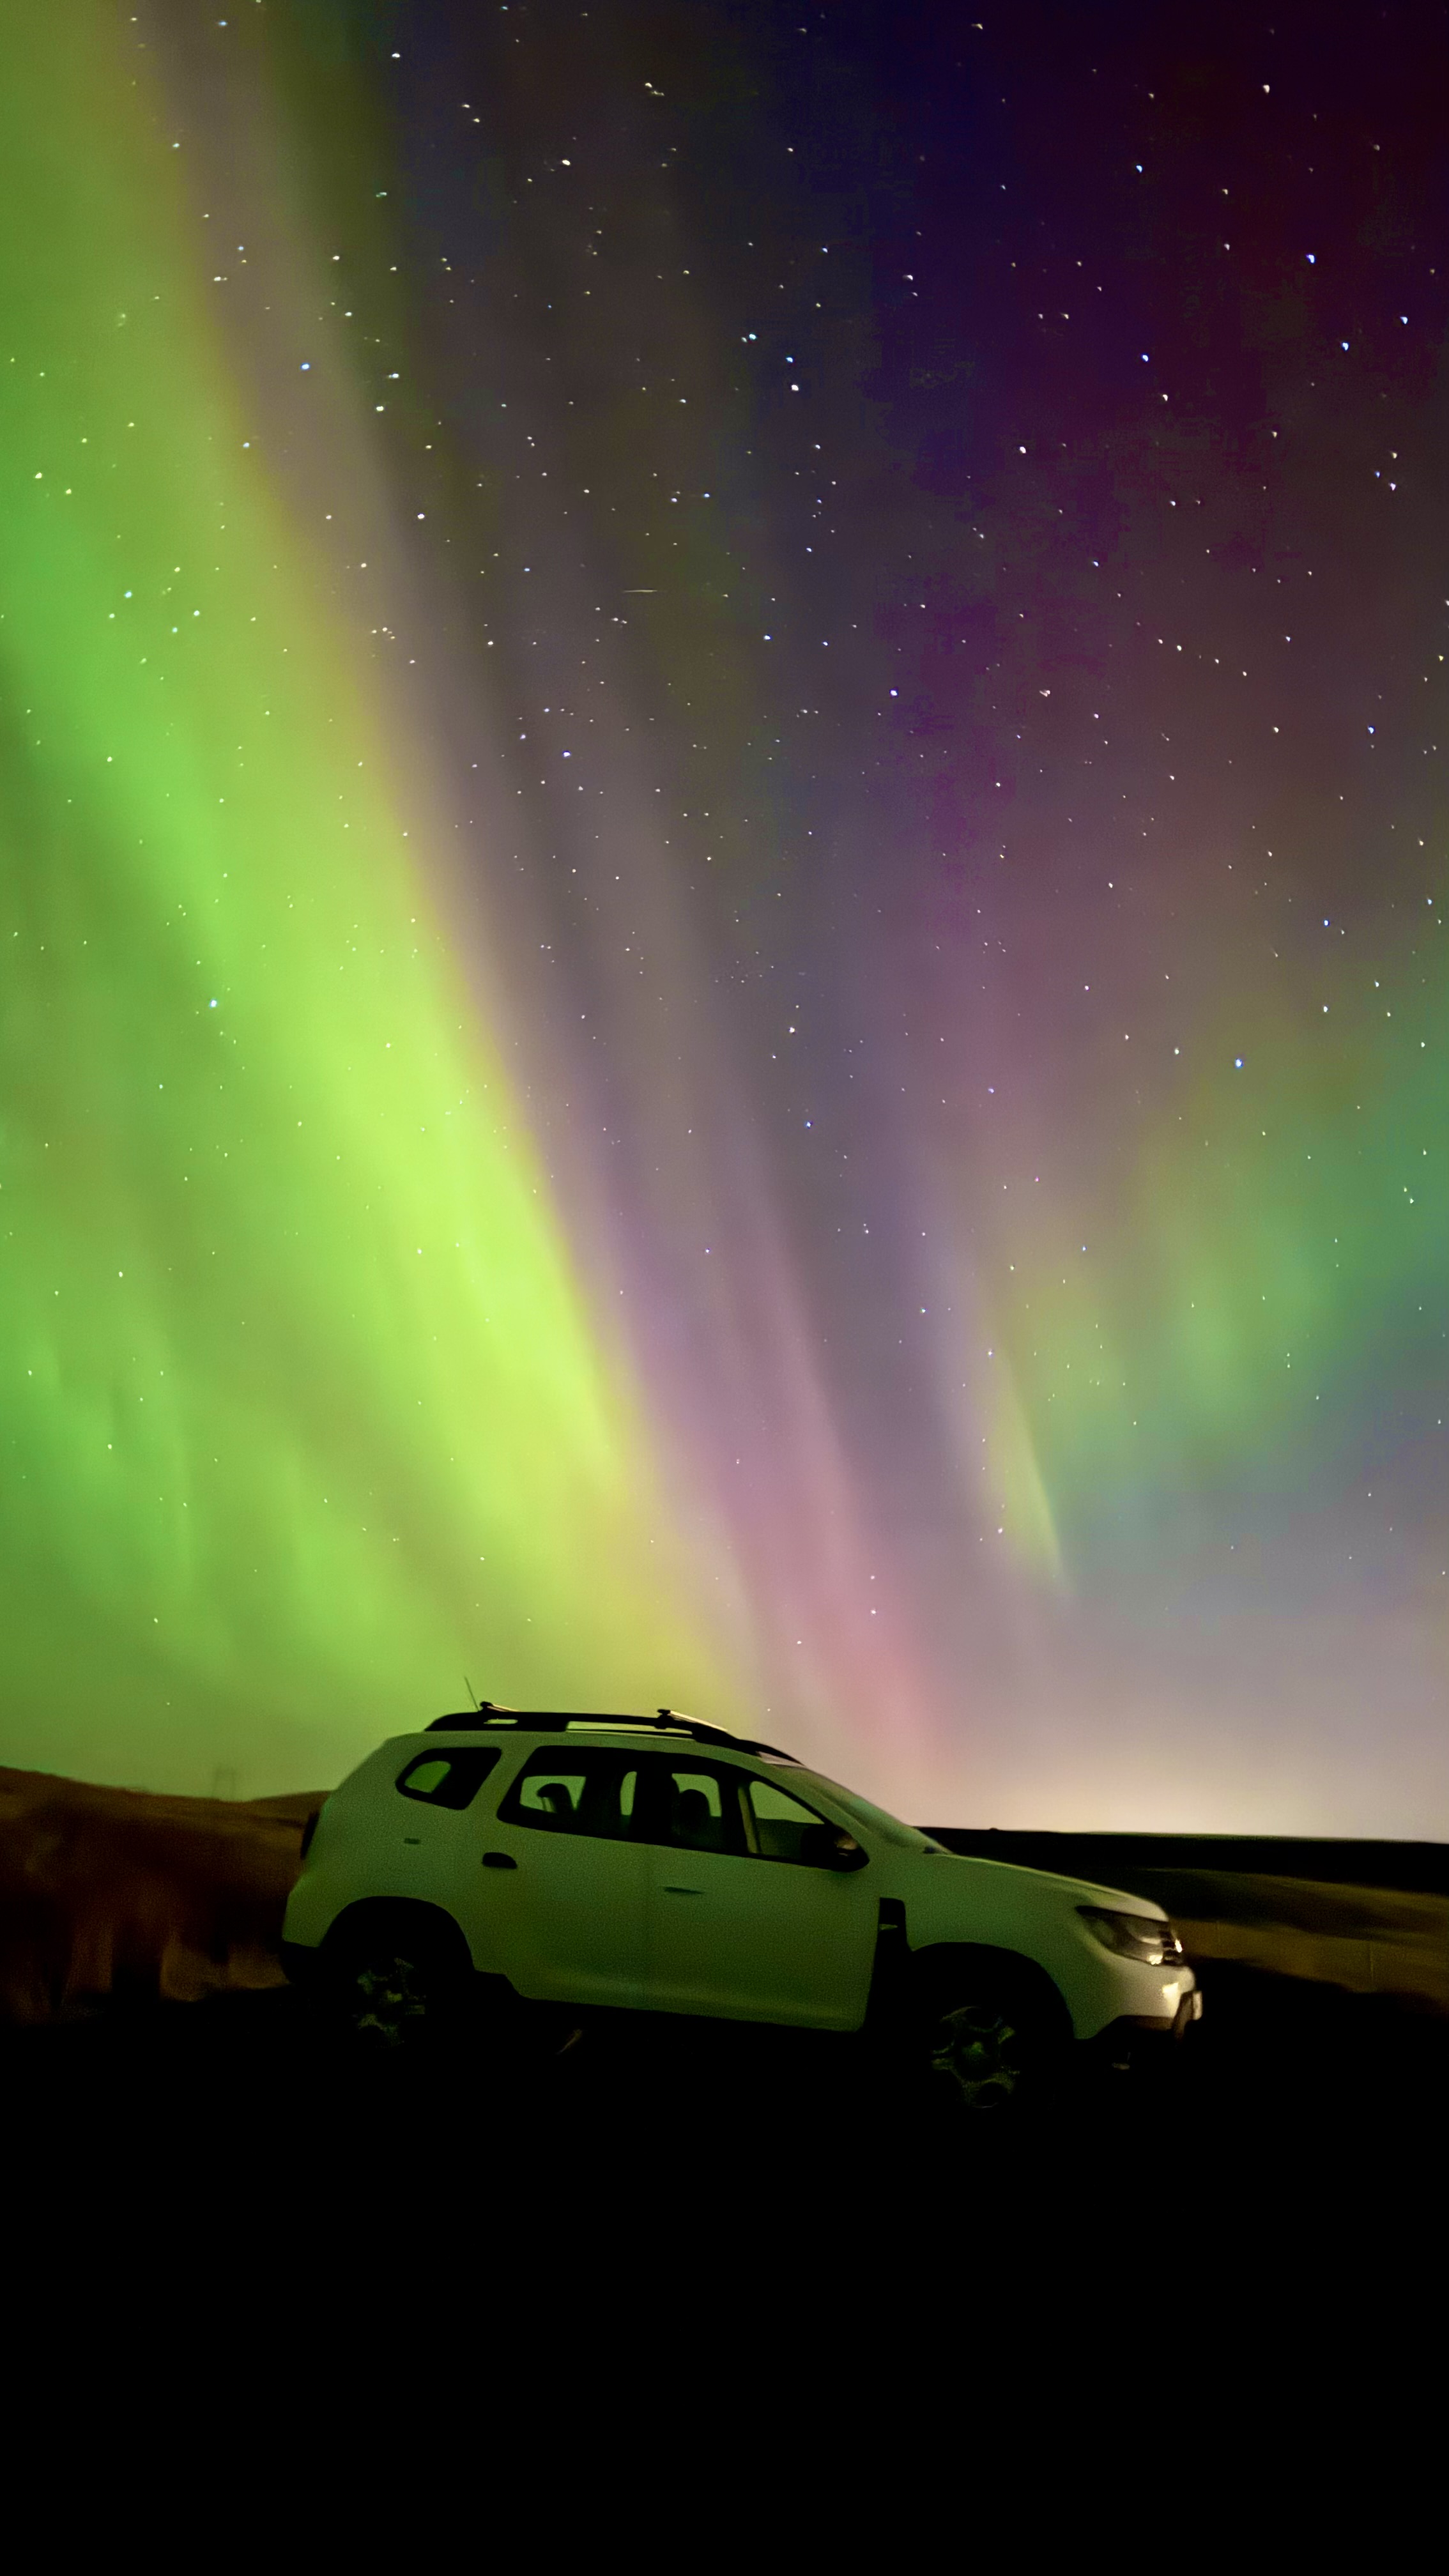
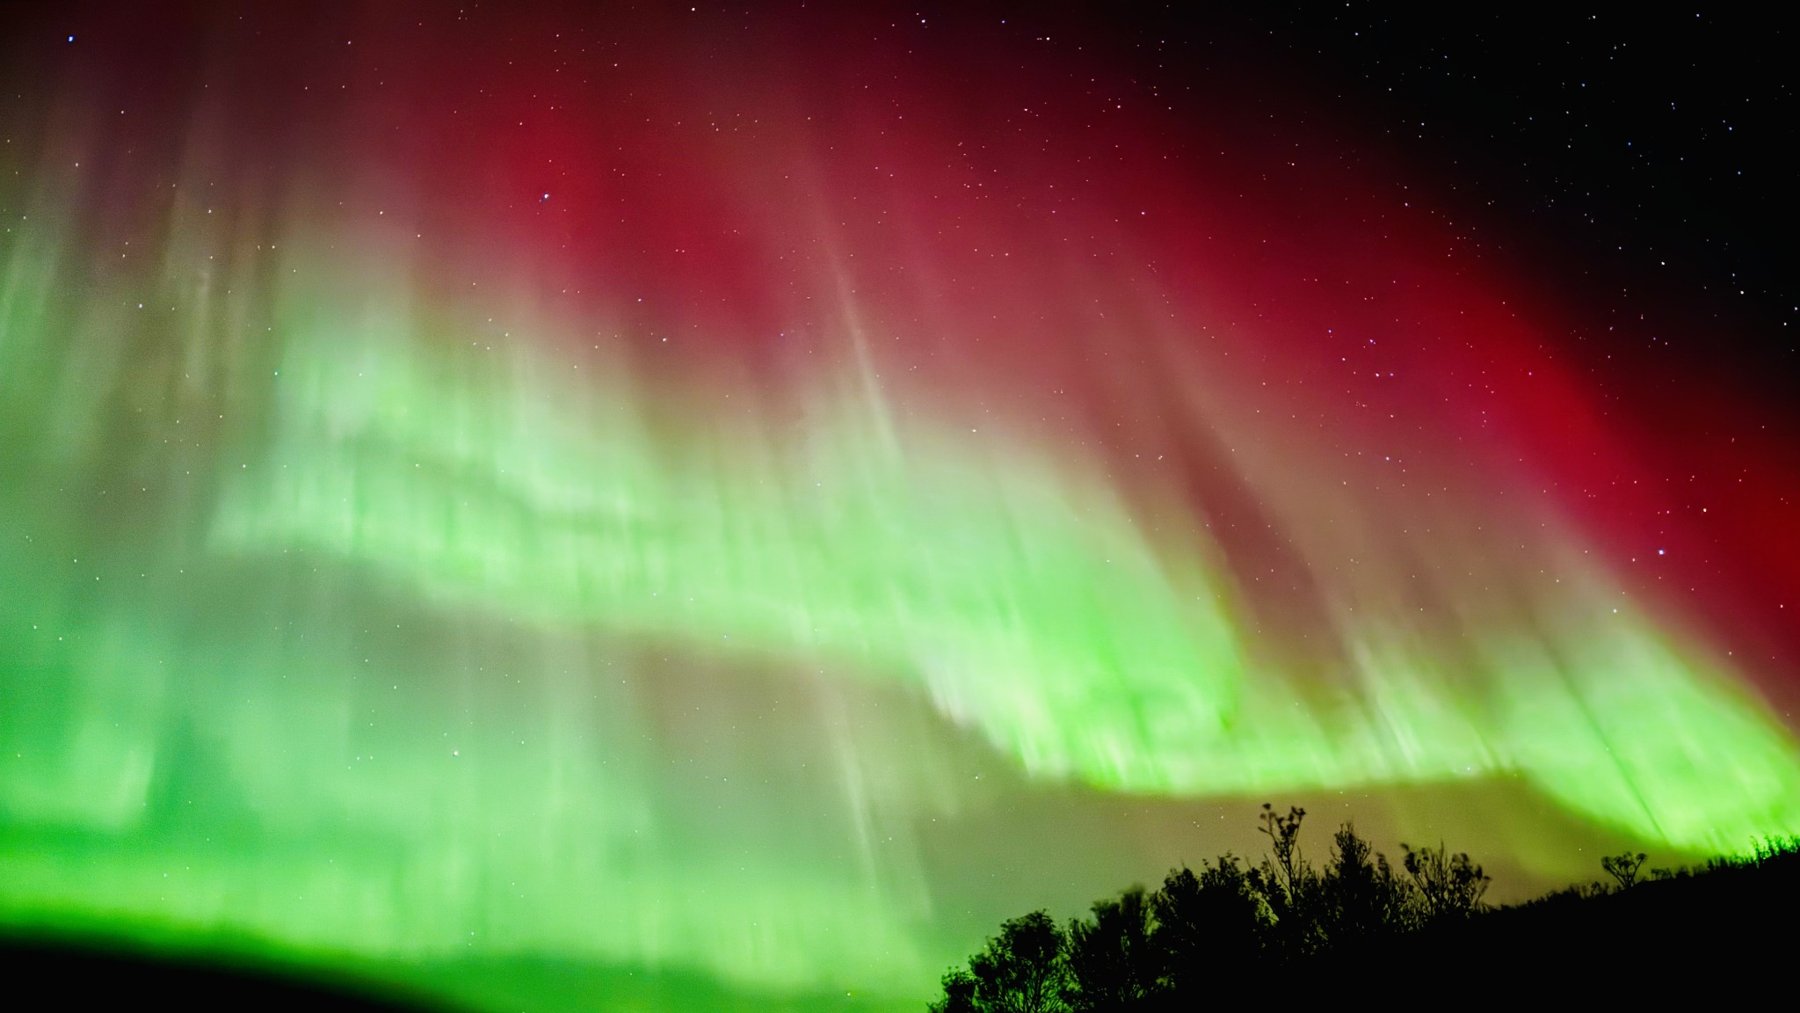
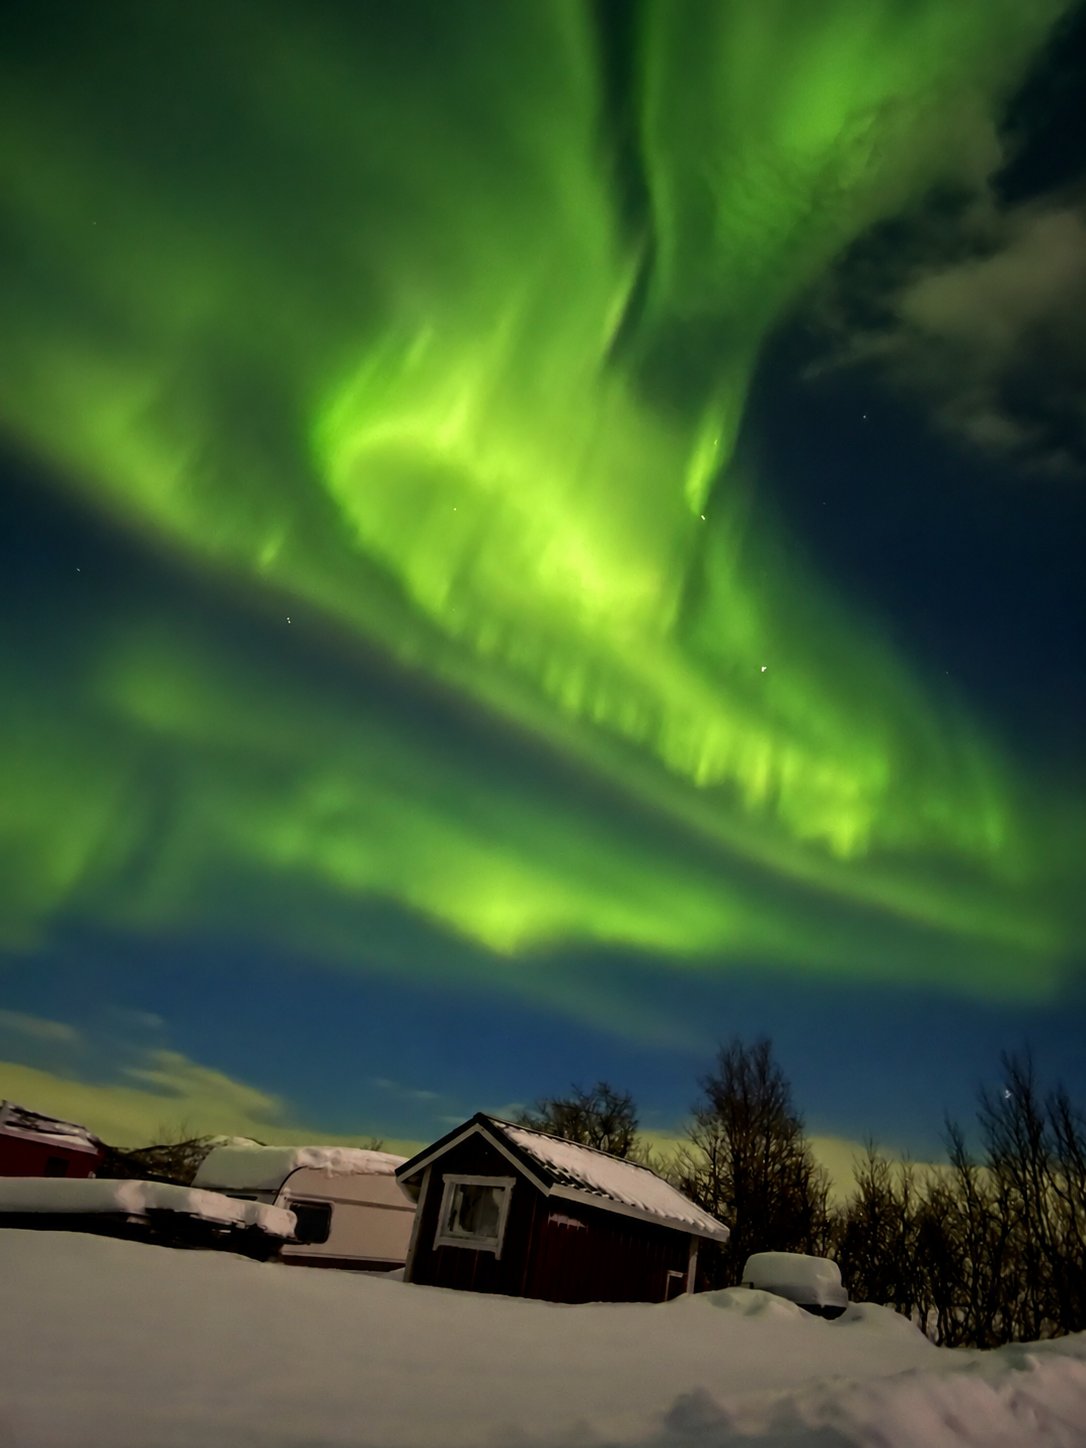
Numerical ranges here are Roy’s practical starting suggestions, not manufacturer guarantees or a promise of a particular result.